
The Ultimate Guide to 3D Stone Wall Panels: How to Install, Style, and Find the Right Pro for a Luxury Look
Have you ever scrolled through Pinterest,
stopped on a breathtaking bedroom or home office with a textured stone wall, and thought, “I want that, but it looks impossible to install”?
You are not alone. In the US, upgrading your home’s interior 3D Stone Wall Panel often feels like a battle between achieving a high-end look and managing skyrocketing labor costs. But here is the secret: the luxury look is in the material, but the success is in the installation.
At Misbell Group, we don’t just provide the finest natural stone panels; we provide the blueprint to get them on your wall. Whether you are a brave DIYer ready to tackle a weekend project or a homeowner looking for a trusted professional, this guide covers everything you need to know about transforming your space with our 12"x24" 3D Stone Wall Panels.
Why Choose Natural Stone 3D Wall Panels?
Before we get to the tools, let’s talk about why natural stone makes such a difference.
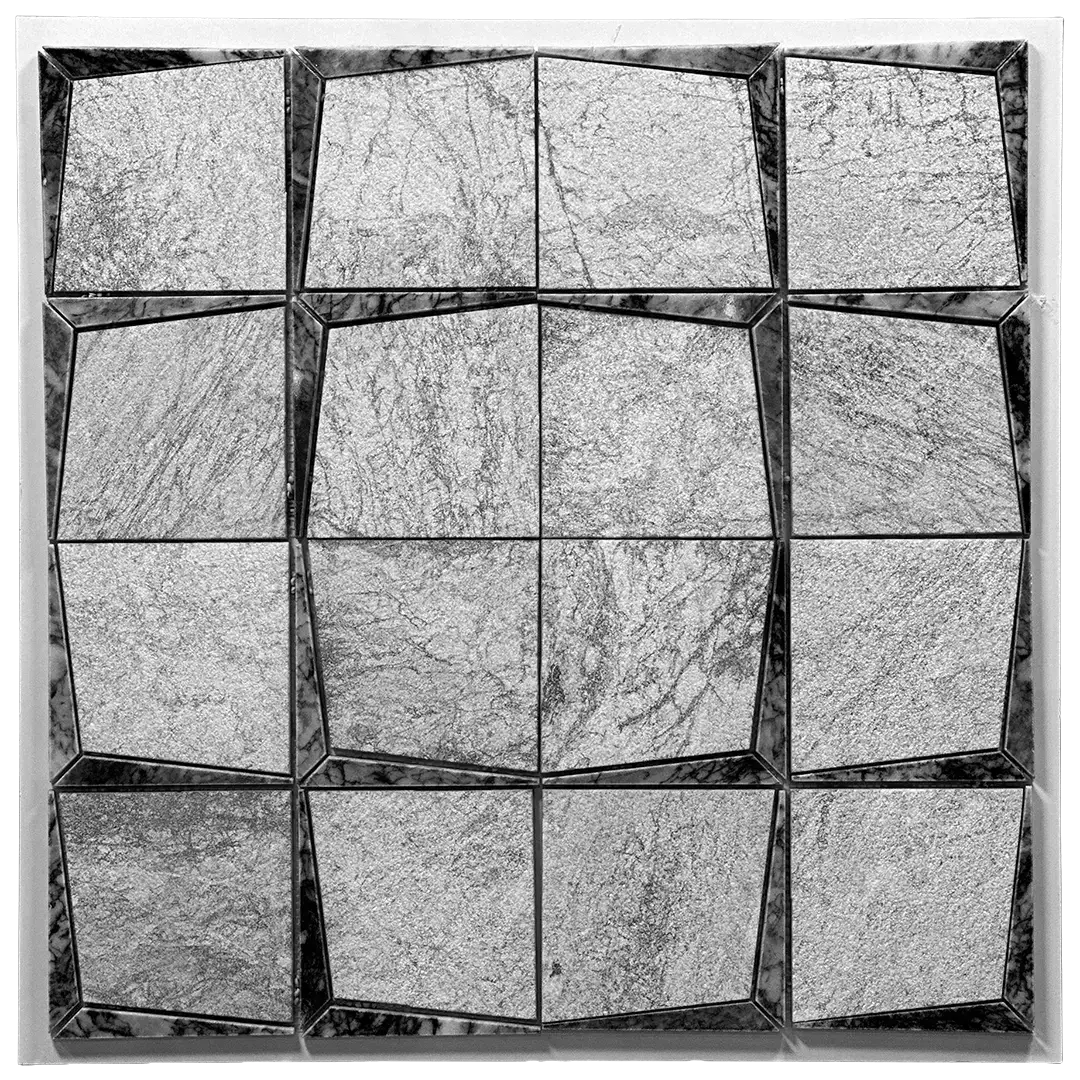
Unlike PVC or foam alternatives that can look artificial under direct light, Misbell 3D panels are crafted from real natural stone, delivering depth, texture, and authenticity.
The Visual Impact of Honed Natural Stone
The honed finish interacts with light in a subtle way, creating soft shadows and a refined, organic texture that elevates any interior.
The Tactile and Acoustic Benefits
Natural stone is solid, cool to the touch, and helps absorb sound—an underrated benefit for bedrooms, offices, and media rooms.
Long-Term Value for Your Home
This isn’t just wall décor. Real stone adds architectural value and can positively impact resale appeal.
How to Install 3D Stone Wall Panels (DIY Installation Guide)
If you have prior tiling experience, installing 12"x24" natural stone panels can be a rewarding DIY project when done correctly.
Tools and Materials You Will Need
🛠️ Installation Essentials
-
Misbell 3D Wall Panels (calculate square footage + 10% extra)
-
Modified thin-set mortar for heavy tiles or premium polyurethane construction adhesive
-
Wet saw with diamond blade (mandatory for natural stone)
-
Level and laser level
-
1/2" notched trowel (recommended for 3/4" thick panels)
-
1/16" or 1/8" spacers (optional)
Step 1: Prepare the Wall Surface Properly
Your wall must be structurally sound due to the weight of natural stone panels.
-
Drywall: Clean, dry, and lightly sand painted surfaces
-
Concrete: Fully cured and grease-free
-
Wet Areas: Install a waterproof backer board first
Pro Tip: Never install heavy stone panels directly over unstable or damaged surfaces.
Step 2: Dry Lay the Panels Before Installation
This step is critical for a professional-looking result.
-
Lay panels on the floor before installation
-
Mix panels from multiple boxes
-
Balance natural color variations for an even, organic look
Because each panel is natural stone, slight tonal differences are expected—and desirable when distributed correctly.
Step 3: Set the First Row Using a Ledger Board
Gravity works against you during installation.
-
Secure a straight ledger board into wall studs
-
Use a laser level to ensure perfect alignment
-
The first row determines the success of the entire wall
Step 4: Apply Adhesive Using the Back-Butter Method
For heavy 3D stone panels, full adhesive coverage is non-negotiable.
-
Apply mortar to both the wall and the back of each panel
-
Press firmly and slightly wiggle to collapse mortar ridges
-
This prevents future detachment or hollow spots
Step 5: Cut Natural Stone Panels Safely and Accurately
Custom cuts are inevitable around outlets and edges.
-
Measure twice, cut once
-
Use a wet saw only—never a snap cutter
-
Always wear eye protection and a dust mask
Professional Installation Services: The Misbell Advantage
Not everyone has the tools, time, or desire to DIY—and that’s perfectly fine.
Finding a reliable installer in the US can be stressful, especially when working with premium materials like natural stone.
Common Concerns Homeowners Face
-
Will the installer show up on time?
-
Do they have experience with 3D natural stone?
-
Is the pricing fair and transparent?
The Misbell Pro Network Solution
We remove the guesswork.
🌟 Misbell Pro Network
-
Vetted installers specialized in natural stone
-
Deep familiarity with Misbell panel designs
-
Proper tools for clean, efficient installation
How the Process Works
When you order your panels, ask our team about professional installation services. We currently focus on South Florida, with expansion underway into other regions.
Best Places to Use 3D Stone Wall Panels (Design Inspiration for 2025)
Interior designers are increasingly using 12"x24" light beige honed stone panels in high-impact areas.
Home Office Accent Walls
A textured stone backdrop enhances visual authority and improves acoustics for video calls.
Bedroom Headboard Feature Walls
LED grazing light across the stone creates warmth and depth that paint simply can’t match.
TV and Media Walls
The matte stone finish pairs beautifully with modern black screens, balancing technology with nature.
A Timeless Luxury Investment
Installing a Misbell 3D Natural Stone Wall is more than decoration—it’s a true interior upgrade.
Whether you choose a DIY installation or work with a certified professional, the result is a timeless, high-end finish that transforms the character of your space and adds lasting value to your home.
Ready to transform your space? Browse our exclusive 3D Wall Panel collection here to find the perfect blend of style and acoustic performance for your home or office.
